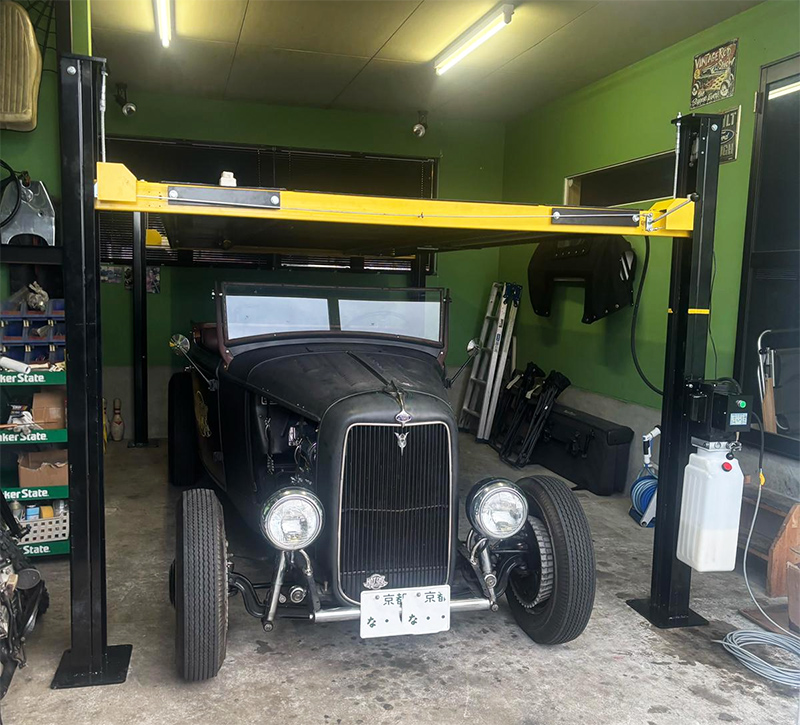
Installing a 4-post lift in a low-ceiling garage demands precise planning, as standard lifts typically require 12-14 feet of clearance. However, low-profile models or adjustments to the garage door can facilitate installation in spaces with ceilings as low as 10-11 feet. Critical steps involve measuring vehicle and lift dimensions, verifying concrete slab thickness, and potentially upgrading the garage door opener to a high-lift or wall-mounted system to create necessary overhead space.
1. Measure Your Garage and Vehicles
Total Height:
Measure the tallest vehicle you intend to lift, then add the lift’s maximum height. The sum must be below your ceiling height, with extra room for safe operation.
Vehicle Height:
While some lifts allow "lowering" racks for shorter vehicles, the lift itself still requires substantial clearance when raised.
2. Select a Low-Profile Lift
Low-profile 4-post lifts are engineered for garages with limited vertical space, enabling installation with around 12 feet of clearance—though this remains substantial.
3. Adjust the Garage Door
High-Lift Conversion:
The most effective solution for low ceilings involves converting the garage door to a high-lift mechanism. This alters the door’s track to open higher on the wall, freeing up vertical space.
Wall-Mounted Opener:
Replacing a ceiling-mounted opener with a wall-mounted LiftMaster model can further optimize clearance.
4. Assess the Concrete Slab
Confirm your garage floor is sufficiently thick to secure the lift. A 4-post lift generally requires at least 4 inches of concrete, though heavy-duty models may need up to 1 foot.
5. Strategize Lift Placement
Ensure ample clearance not only vertically but also laterally for safe operation and workspace efficiency.
6. Seek Professional Guidance
If uncertain, consult the lift manufacturer or a certified installer to confirm compatibility and explore necessary modifications.
Post time: Aug-22-2025

